Saturday, February 03, 2007

Mojave


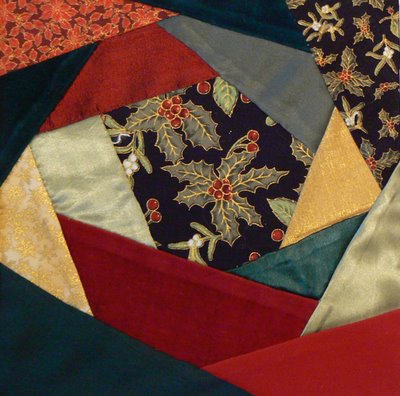
Mojave is the second of the Dodecagon Ornament Series designed by Jim Wurth. Photo of the first one "Coronation" has been added in previous blogs.

Pierrette =^..^=

Monday, January 22, 2007

European Scene: The Shambles York


On one of my trip to Europe I saw this kit and purchased it on impulse. It has been sitting unfinished in my UFO pile for ages until to fulfill my 2007 year resolution to finish two UFOs before I can start a new project I took it out and worked on it until completion yesterday. It will be going to the finisher sometimes today for her to do her magic.

The kit is using Anchor Tapisserie Wool-Laine threads, which was a first for me. It is a simple long stitch tapestry so it went rather quickly except there was so many thread changes and lots of counting that at times slowed me down considerably. I am happy though to have finally completed this project as I love European scenes and this one will remind me of my many trips to Europe.

Pierrette =^..^=

Monday, December 25, 2006

Pincushion & Count Keepers


For Christmas, I made these two items for my friend Terry.

She needed a pincushion. She wanted it big enough to put lots of needles on it and did not want a piece of "Art" where she would not dare stick a needle through it, so I came up with this one. I had this lovely piece of fabric that I found in my stash as well as those beautiful buttons that matched exactly the red color of the fabric. There is a tutorial listed in my tutorial section that shows exactly how to make these pincushions with a step-by-step photos. They are quite easy to make.

While I was at it, I decided to make her a "Count Keepers" as she has recently started doing some needlepoint. I had seen some Count Keepers on the Nordic Needle web site and used that photo to guide me.

In my stash I had this lovely bead that was a nice red with a mix of other transparent colors that was light in weight and just the right size for the project. I tried different color threads and ended up with the red one as it completed the color of the bead better. I took two needles the same size from my stash and attached them to the threads and made a little tassel at the end.

Here are how they are used for those of you who may not be familiar with these Count Keepers. You place one of the needles at a starting point on your fabric. Count 10 or 20 threads and insert needle number two. You pick up the first needle, count the next group of 10 or 20 threads and insert needle number one again and you go on until you are done. It really saves counting and recounting.

Pierrette =^..^=
http://community.webshots.com/user/sunshineplus

Tuesday, December 05, 2006

Coronation


This is the first ornament of the Dodecagon Series. It is called Coronation and is a 12-sided ornament. There are 12 ornaments in this series, all very different. I have received the first three so far, but only managed to stitch the first one because I have been spreading myself rather thin lately with different online classes and projects.
There is a group that has been created in order to provide help whenever questions arise while stitching those various ornaments. We are lucky enough to have the designer himself, Jim Wurth, in our group to answer questions that we may have while stitching these ornaments. Here is the link for the group for those interested: http://groups.yahoo.com/group/DodecagonSeriesOrnaments/
Next ornament to stitch is called "Mojave" followed by "Poirot".
Pierrette =^..^=

Tuesday, November 21, 2006

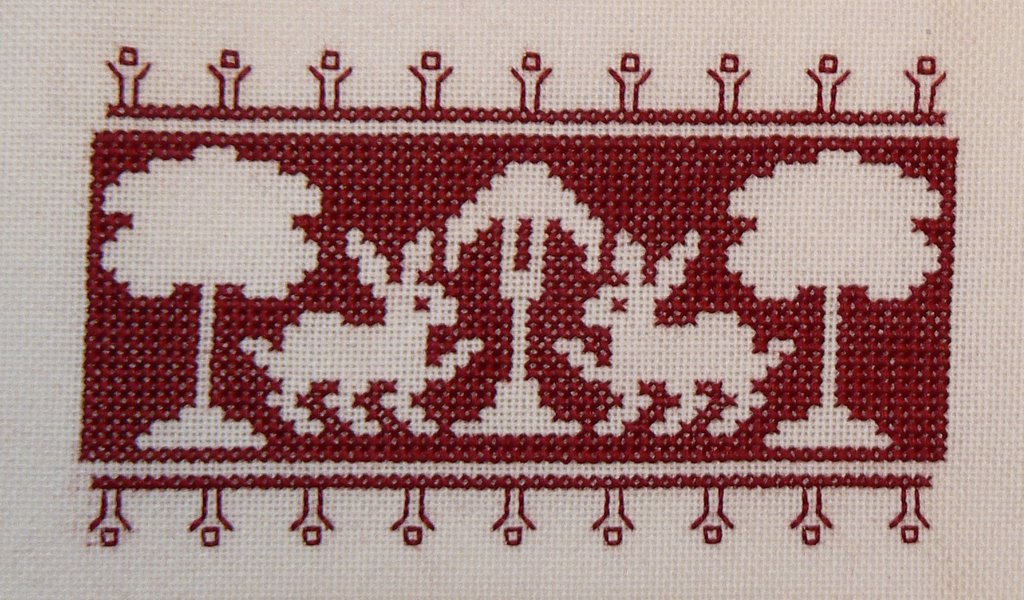
Assisi Style Rabbits


"Assisi Embroidery also known as Voided Work. Voided work is any embroidery where the design is left open and unworked and the surrounding area is worked to create a "void". Assisi embroidery is one such style of this work." See Tanja Berlin's site for more details at http://www.berlinembroidery.com/assisirabbits.htm
There is also another example of this Assasi style embroidery on Robin Berry's site at http://www.bayrose.org/needlework/Voided_Work_Rabbits.html
Pierrette =^..^=

Wednesday, November 15, 2006

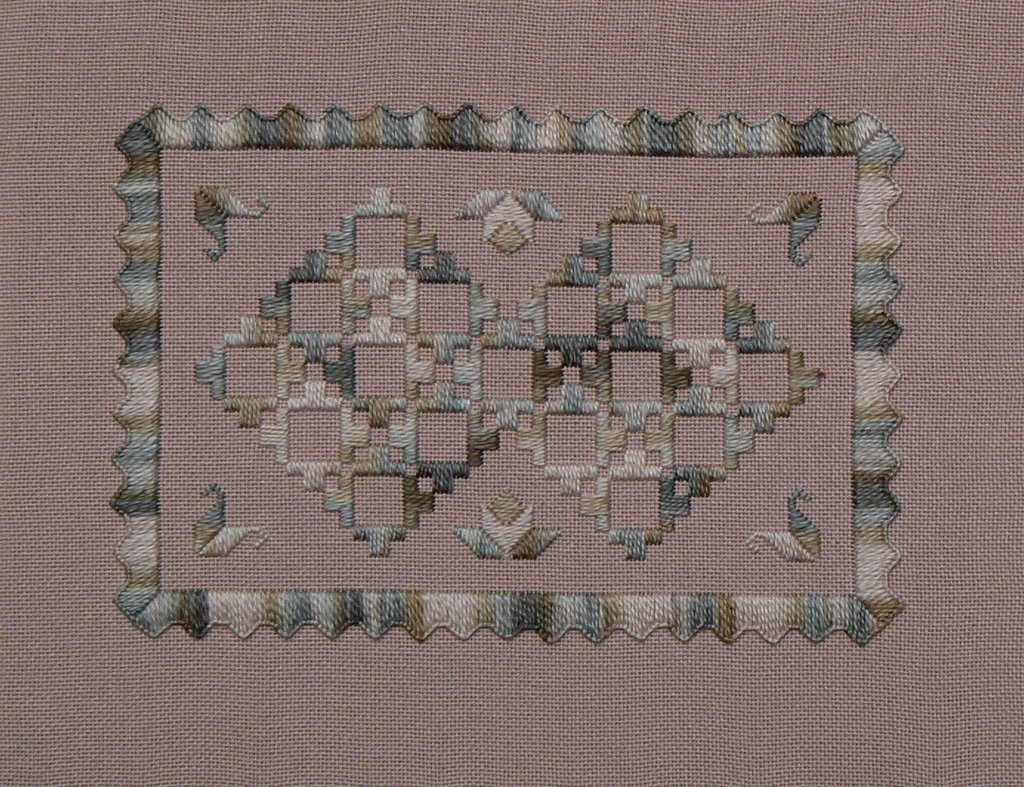
Options in Hardanger


This is a hardanger EGA GCC that I am actually taking. It is a design by Dale Sokolow.
I have stitched all but the fillings inside each square box, which I still need to do in order to complete this project.
I am using some Ash Rose Lugana 25-ct with some Gobi Sand Watercolors & Wildflowers threads.
Pierrette =^..^=

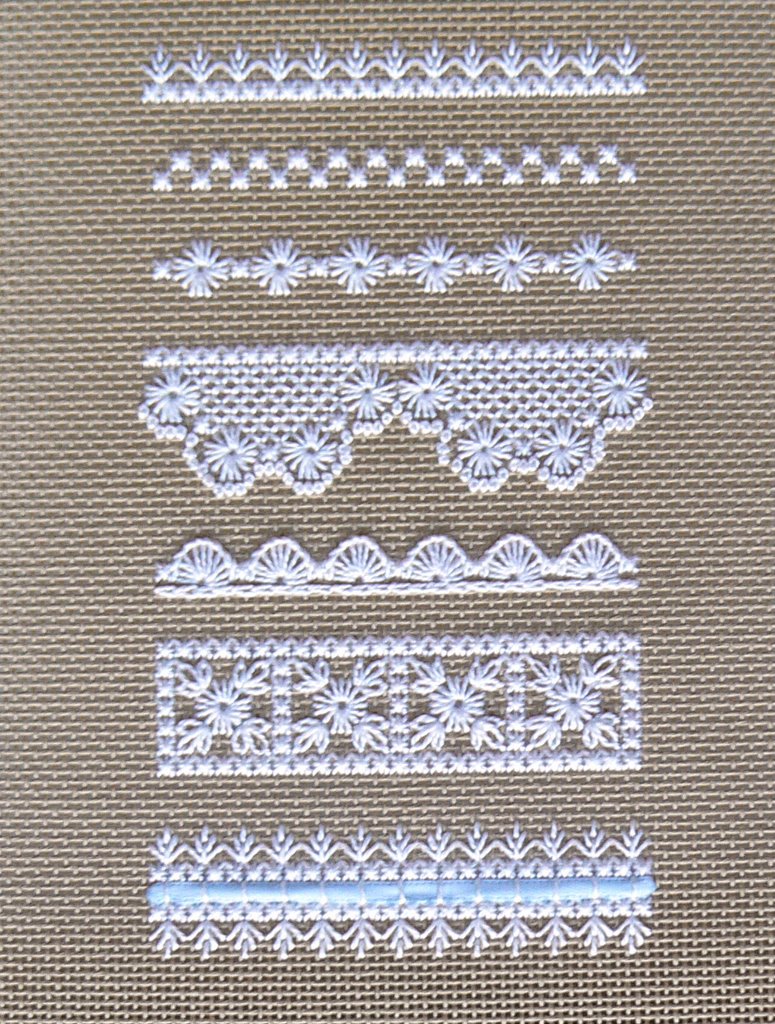
Hapsburg Lace Sampler: Patterns 1 - 7


This Hapsburg Lace Sampler gives a beautiful lacy affect. It has a total of 25 different bands/patterns to stitch. It is done on 18-count mono canvas, natural color and the threads used are white perle cotton and some ribbons.
I have completed bands/patterns 1 through 7 (picture above), so only 18 more bands to go :-)
I have had many requests asking me where I purchased my sampler, so here is that information. I purchased it at Berlin Embroidery. Link: http://www.berlinembroidery.com/hapsburglace.htm
Pierrette =^..^=

Tuesday, November 14, 2006

My adventures with Crazy Quilting (3)


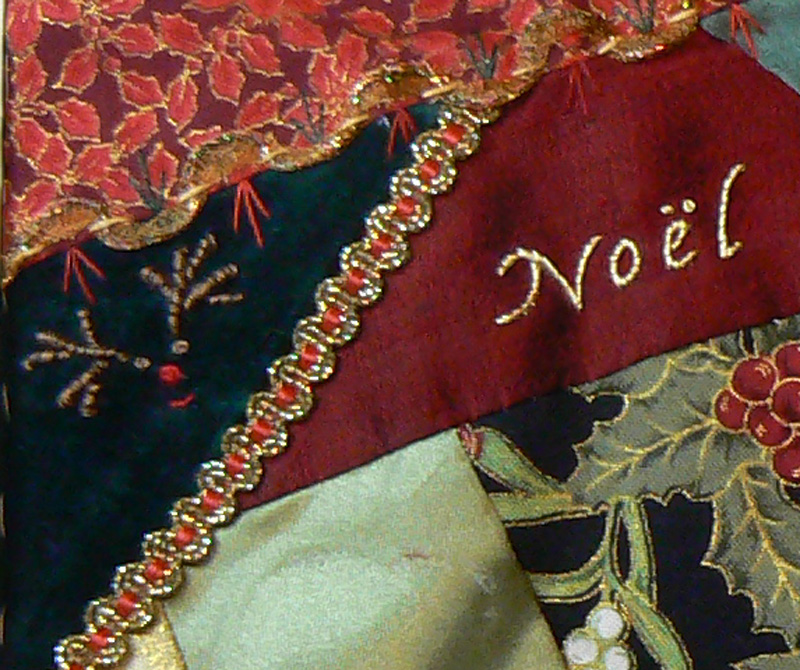
Today I have stitched a little reindeer face on my block, reminding us that Santa will soon be coming with all his wonderful gifts :-)


A Closer look at the little reindeer face.
I have first seen it in my "A ~ Z of Bullions" book and I remember thinking at the time that it was pretty cute. It is made with regular DMC threads. The antlers are bullions knots, eyes and nose are French knots.
Pierrette =^..^=

Monday, November 13, 2006

My adventures with Crazy Quilting (2)


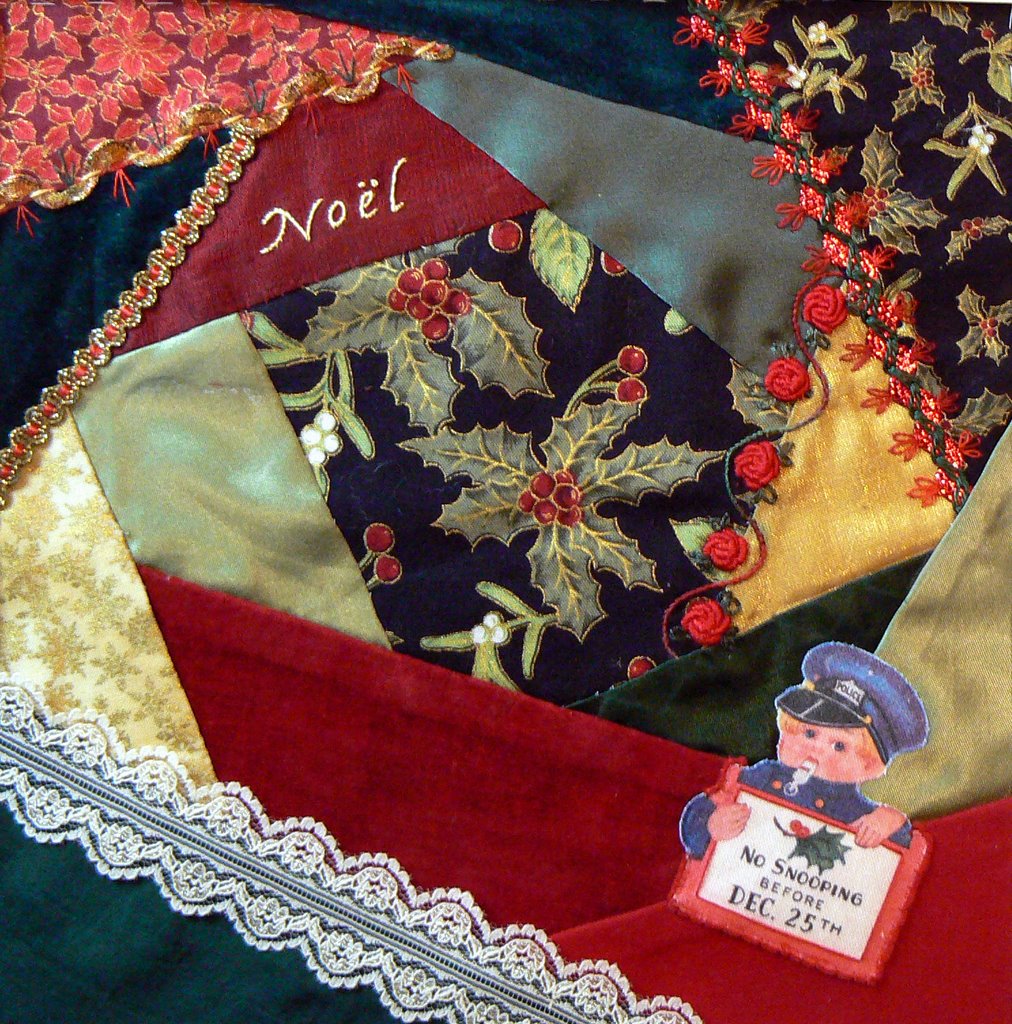
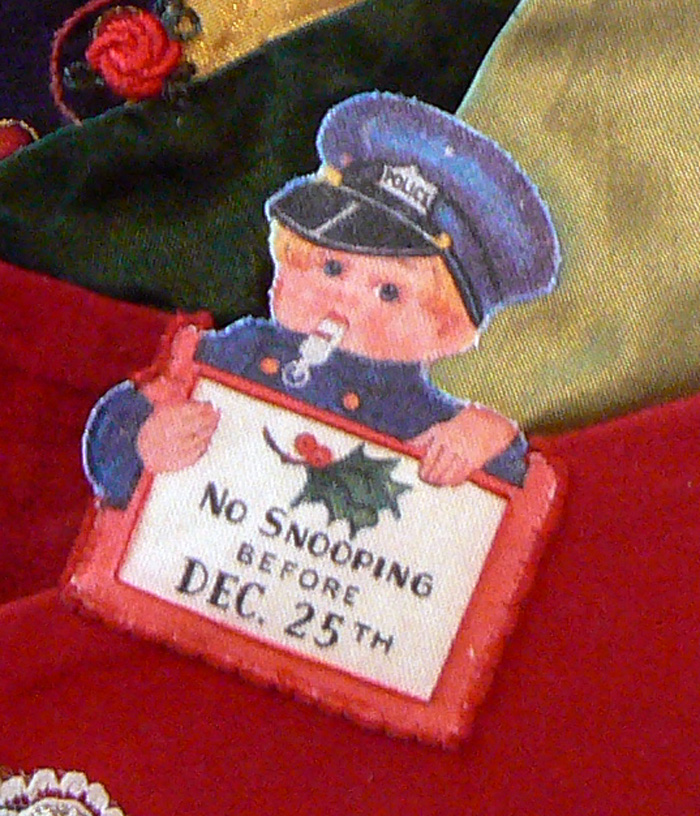
After digging in my Christmas decorations, I found this cute little police boy with a big sign saying "No Snooping before Dec. 25th" and I knew right then and there that I had found my special piece for my block. This little sweetheart must be over 50 years old, at least. I inherited it from my parents.

I made another seam, the one on the upper left of my block. This stitch is called "Threaded Running Stitch" and can be seen here on Sharon's web site: http://inaminuteago.com/stitchdict/stitch/running-threaded.html .
I thought that writing the word "Noël" with yellow silk thread would look good at this particular place so I opened up my MSWords and tried different fonts until I found one that I liked and used it on my block.


A closer view of this cute little police boy. What a find I made. I still can't believe my luck :-)

Tuesday, November 07, 2006

My adventures with Crazy Quilting (1)


One of the thing that I personally find the most difficult to do is Crazy Quilting. It seems easy enough when I look at it, but for me creating a block well put together that just seems to flow is actually quite a challenge, to say the least.

In the past, I have tried to do a little crazy quiltinig (see photos in my Webshots photo album of my valiant efforts :-) http://home-and-garden.webshots.com/album/371378901JSZjCv so when I saw an online class about crazy quilting on the Joggles site http://www.joggles.com/store/catalog/index.php?cPath=75_450&osCsid=62ebc8edc8a505d9b46f49d17f7f288d I decided to take the plunge. This class is called "Encrusted Crazy Quilting with Sharon B". Sharon's site is http://www.inaminuteago.com/

The first challenge was to find the fabric, so here I was going through boxes of fabric and scraps in order to find some fabric that talked to me. I wanted to do a Christmas theme since I always like to do projects according to the period of the year I am in.

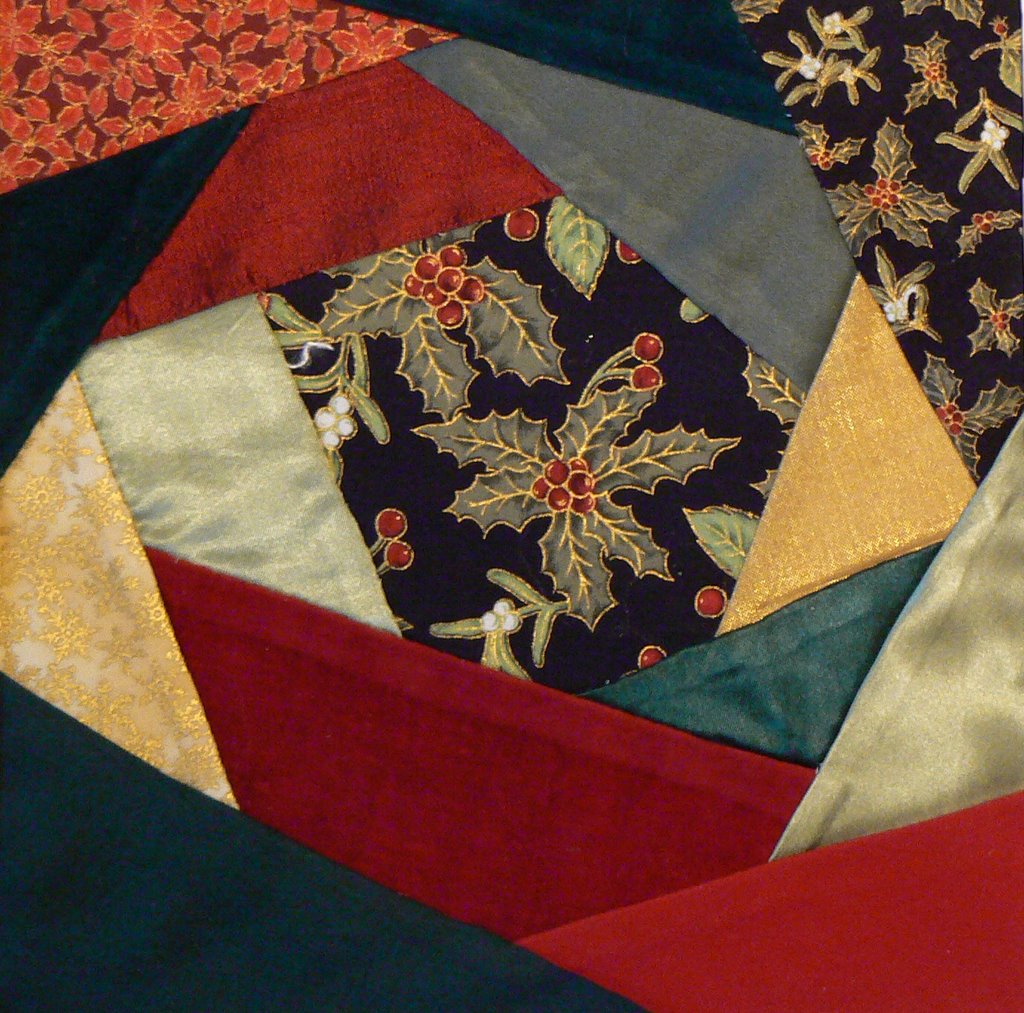
Then came my second challenge when I tried to piece my block together using the flip and sew method, starting with a five sided piece in the middle, but that did not worked out too well for me, so scrapped that block and decided to use one of those blocks already drawn for you that I found in the book called "101 Crazy Quilt Blocks" by Linda Causee. I flipped pages until I found one that appealed to me and used it to piece my block.

Something I forgot to mention when I was trying to put that first block together. I had put my five sided piece a little off center on my foundation, just like Sharon said, followed with other pieces around that central piece, going clockwise. My block was about 1/3 pieced when I turned around to look at something on my computer. By then I could see lots of white foundation fabric and some Christmas fabric and when I turned back towards my block, you can't imagine what I saw. There was one black spider, exactly like the ones we like to stitch on crazy blocks and "she" (imagining she was female) was sitting on the white foundation part of my block, so she was quite visible.

I hate real spiders, so shouted to my husband who was in the other room to come real quick and get rid of "it", so here comes my husband and I explained to him "not too calmly" that there was a spider on my block and to please remove it for me. He looked at it, bended closer over it and was not doing anything but looking at it. I said to him "Would you remove this spider" and he looked at me and said "Is that something that you have embroidered?" I said "NO" "It is a REAL one!" By the time he had finally reached the conclusion that this was a REAL spider, she was gone and he had to hunt her down under lots of fabric. At one point, not sure how but she felt on the floor and he put his foot over and that was the end of that. After he had left my room, I had mixed feelings about his behavior. On one hand, I was not too happy with him that it took him that long to react and on the other hand thinking to myself "My embroidery must be very good that when this man sees a real spider, he wonders if I have stitched it or not".


The third challenge was to put some lace and braid on my block. I went through all that I had that could possibly work and found a few pieces that I liked. I then tried each piece on each seam until that it seems to me that each selected piece could only go to that particular seam.

The fourth challenge was to start finding interesting seam treatments, which for me is much easier said then done. So far, I have made two.

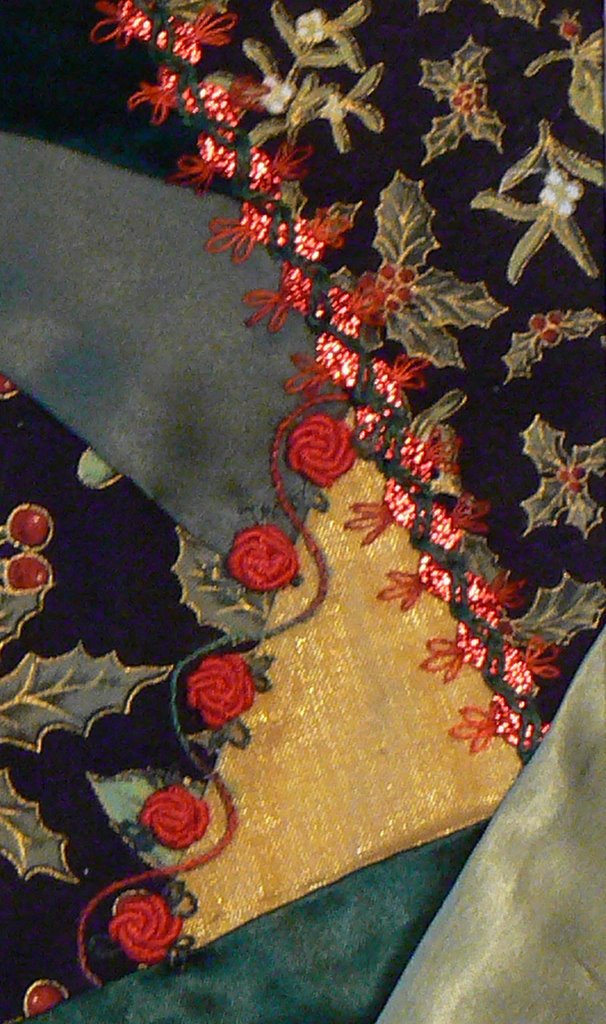
The first seam is over a piece of red shiny rick-rack. I stitched some zig zag chain stitch over it in green and then added some detached chain stitches in red on each side.
The second seam consists of first stitching a curve line and then adding some red roses inside each curve made with bullions and adding some detached chain stitches to make the leaves.
After all this work, I took one day off to clear my brain as I have been spending so much time online looking at blocks and in books researching what might be interesting to add on my Christmas block that I found myself on information overload and needed time to process all this.
I am still at the information gathering stage and will soon be restarting stitching again on my block, hopefully with a clearer vision of what I would like to further add.